GLUU - User Provisioning: Difference between revisions
| Line 19: | Line 19: | ||
=== Making User an Admin === | === Making User an Admin === | ||
Following the ''Users -> Manage Groups'' link, and then select the ''Gluu Manager Group'' link. You should see a page like this: | |||
[[File:Making a User an Admin.png|frame|center]] | |||
Click the Add member link and then use the search dialog to search for them by username. Then you must click ''Ok'' and on the screen seen above hit ''Update''. If you don't hit both, the change will not be recorded. | |||
== User Registering Mobile Device == | == User Registering Mobile Device == | ||
== SAML Login Page == | == SAML Login Page == | ||
Revision as of 15:19, 15 May 2019
This page discusses the process for provisioning new users, enabling users to be GLUU admins (and thus allowing them to add users), and the process for registering their mobile device with their GLUU account.
GLUU Login
Perhaps useful to bookmark: https://fido-di3-idp.hamiltontn.gov/.
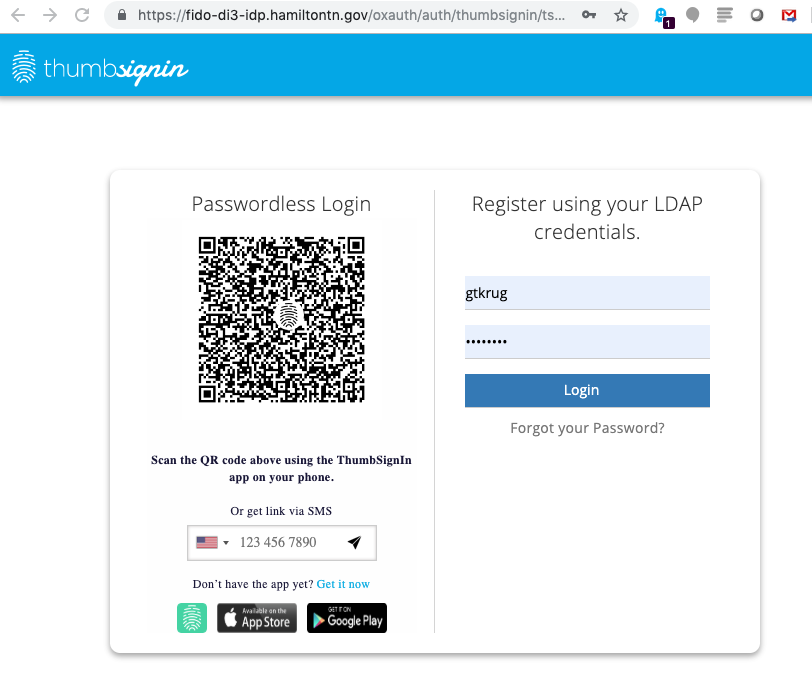
Using the ThumbSignIn app on your mobile device login by scanning the QR code seen. When logging into the admin panel with an existing credential you ignore the right half of the page about registering. That part of the page will be used to register a new device.
Adding User
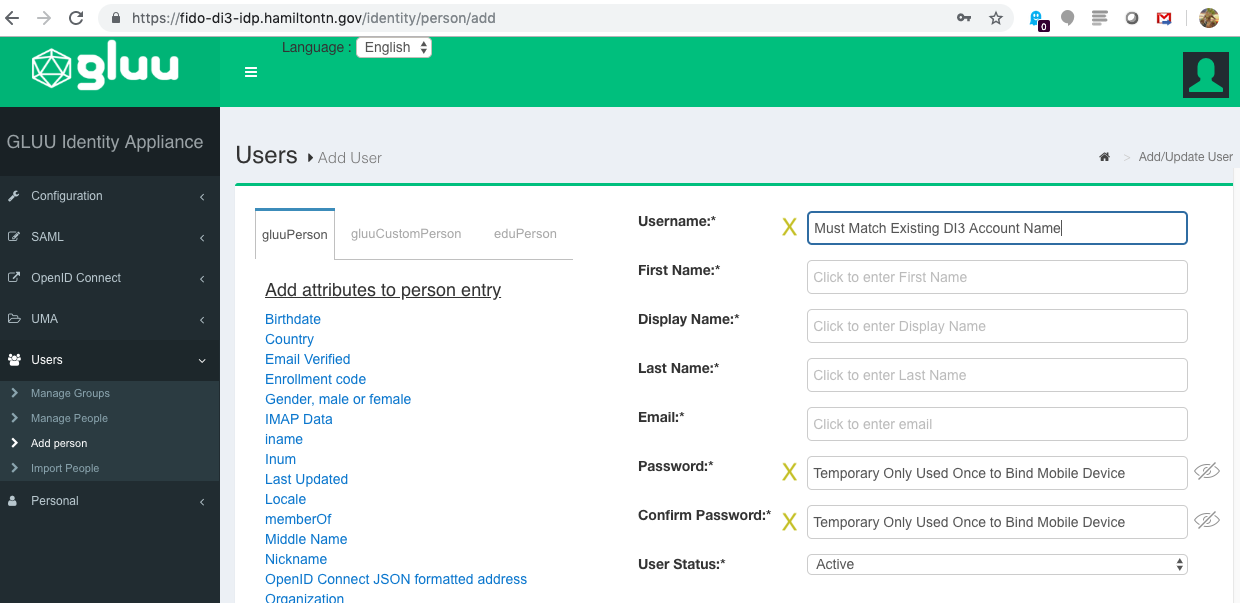
Navigate to the Add person link under Users to add a new user as seen below:
- The Username must match the user's existing DI3 account name as attributes will be directly retrieved from the DI3 database.
- The Password will only be used once to bind the mobile device, it does not need to match the existing account. It can be anything and is temporary.
- All other fields are irrelevant, but likely should be filled out correctly for the sake of clarity.
Making User an Admin
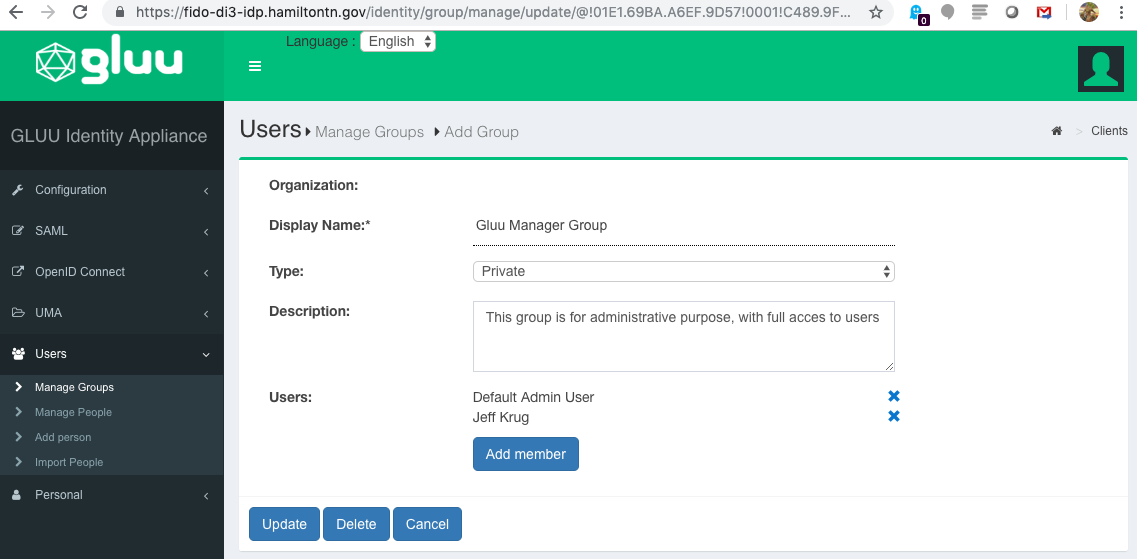
Following the Users -> Manage Groups link, and then select the Gluu Manager Group link. You should see a page like this:
Click the Add member link and then use the search dialog to search for them by username. Then you must click Ok and on the screen seen above hit Update. If you don't hit both, the change will not be recorded.


